
No products in the cart.
Outdoor Adventure
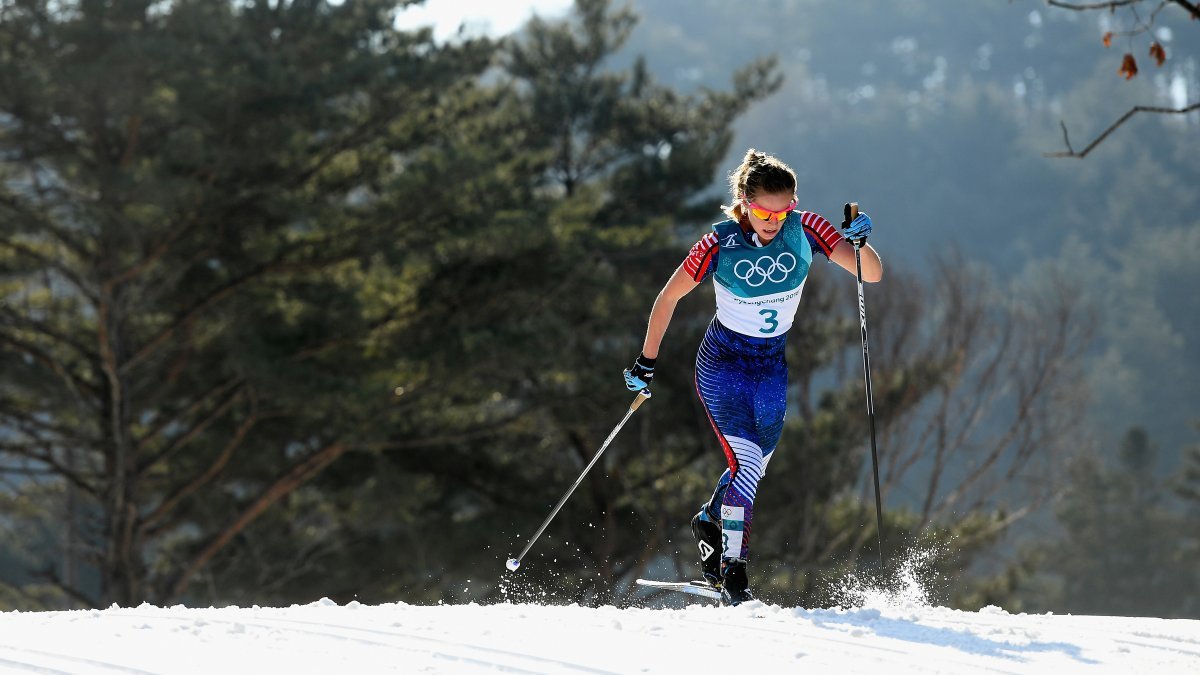
Jessie Diggins’s Killer 8-Minute Core Workout
31
Oct
Oct
Nordic skiing is one of the world’s toughest outdoor sports. It requires extreme cardiovascular fitness, endurance, full-body muscular strength, speed, and coordination—often in harsh winter conditions. So when the Olympic gold medalist Jessie Diggins announced in May that she was going to lead a live core workout on Instagram for everyone stuck training at home, we knew we were in for it.
Her unique sliding core circuit progressively builds in difficulty through six exercises over eight minutes, all of which use socks on a slippery surface. “We’re all busy, so it’s meant to be short and sweet—something you can sneak in at the end of your run or climbing session or whenever you have the time,” she says. “But it turns out eight minutes can be really challenging.”
This workout is designed to fire up deeper layers of muscle to train anti-rotational stability, coordination between opposing limbs, and overall functional strength. These qualities are not only essential for Nordies but anyone who wants to move fast, stay upright, and play outside in unpredictable terrain.
You can do this workout without any tools, but to get the most out of it, don a pair of thick socks and head to a slippery surface, like wood or tile floors. A yoga mat also comes in handy to cushion your knees and elbows. If your space has carpeting, you can use paper plates or Frisbees in lieu of socks. A polyester tarp on a hard, flat surface also works in a pinch.
Complete the following moves as a nonstop circuit, rotating from one exercise to the next in the given order, with no rest in between. Aim to do each move for one minute. Add it to a full-body workout, or cycle through it two to three times for stand-alone core training.
Proper form is crucial to target the correct muscle groups. If you’re not able to maintain good form and a steady pace throughout the duration, take a short rest between each exercise. If that’s still too difficult, break each movement into two 30-second sets with a quick rest in the middle.
The Moves
High Plank Hand Slides
What they do: Work your core muscles with increasing leverage to build strength and stability.
How to do them: Kneel on the center of a yoga mat, perpendicular to its length, and place the socks on the floor in front of you. Put your palms on top of the socks, and move them to directly below your shoulders, with straight arms. Lift your feet off the floor and hold your body in a rigid half-plank, with a straight line from your knees to your head. This is the starting position. From here, slide your right hand forward around 12 inches, then your left hand. Then slide back the right hand, followed by the left. Repeat continuously for one minute.
The farther you slide your hands, the harder it gets. Go as far as you can while maintaining a strong plank position—no lifting, sagging, or rotating the hips—and keep your core engaged throughout the movement. Think of pulling your belly button toward your spine. If this feels too difficult and you’re not able to hold good form, try sliding one hand at a time out and back, and alternate between sides. To take the challenge even further, try it in a full plank position.


Offset Push-Up Hand Slides
What they do: Strengthen your entire core, shoulders, triceps, and chest.
How to do them: Stay on your knees, with your hands on the socks. Then slide one hand forward, keeping that arm straight, as you bend the opposite elbow to lower into an offset push-up. On the bent arm, keep your elbow tracking backward along your ribs to better target the triceps. Lower yourself until your chest is an inch or two from the floor (or as far as you can with good form). Then reverse the movement to the starting position: push up with your bent arm as you slide the other back. Repeat with the opposite arm sliding forward, and continue alternating sides for one minute. If this is too easy, do it in a full push-up position, with your knees off the floor.


Alternating Side Plank with Cross-Body Leg Slide
What it does: Strengthens your core, with an emphasis on the obliques (lateral core muscles).
How to do it: Now switch things up. Put your feet on the socks, and start in a standard push-up position, with your hands on the yoga mat, your body perpendicular to the mat. From here, slide your left foot forward as you draw your left knee toward the mat then slide that foot across your body (under your torso) and extend that leg to the opposite side, perpendicular to your body. Next, raise your right hand toward the ceiling, and rotate into a side plank. Pause for a second, and reverse the movement to the starting push-up position. Repeat in the opposite direction. Continue alternating sides for one minute. Move slowly and in control. Keep your core tight throughout the movement to prevent your hips from sagging or lifting.


Power Point with Knee-to-Elbow Slide
What it does: Strengthens your core and enhances neuromuscular connection and coordination between opposing limbs.
How to do it: Stay in the push-up position described above, with your feet on the socks. Without rotating your shoulders or your hips, raise your right arm and aim it straight in front of you, in line with your body. (If this is too difficult, keep both hands on the floor for this exercise, and skip the arm movement.) Then slide your left foot forward and draw your knee toward the center of your chest while simultaneously bringing your raised arm back to gently tap your knee with your elbow. Slowly reverse the movement to the three-point plank position (holding your raised arm in the air the entire time). Repeat continuously for one minute. Keep your hips and shoulders level, and maintain a rigid plank throughout the movement.
Do this only on one side for now. We’ll come back for the other shortly.


Low Side Plank with Knee-to-Elbow Slide
What it does: Primarily targets the obliques and enhances neuromuscular connection and coordination between opposing limbs.
How to do it: Lower onto your left forearm, and raise your right hand toward the ceiling to enter a low side plank. Stagger your feet heel to toe, with the right-side (upper) foot in front of the left-side (lower) foot—both still on the socks. Keep your hips square and centered so that your body forms a straight line from your head to your feet. This is the starting position. From here, slide up the lower foot, bringing that knee toward your chest as you simultaneously drop your raised elbow down to gently tap your knee. Slowly reverse the movement to the starting position, and repeat continuously for one minute. Maintain a rigid plank throughout the movement. Like before, do this only on one side for now.
Next, roll back to the high plank, and repeat the Power Point with Knee-to-Elbow Slide on the opposite side for one minute. Then repeat the Low Side Plank with Knee-to-Elbow Slide on the opposite side for one minute.


Pike Slides
What they do: Strengthen your core, with an emphasis on the abs and hip flexors, while improving hip and hamstring mobility.
How to do them: Start in a low plank position, with your forearms on the floor and your elbows directly underneath your shoulders. Keep your hips level and your body in a straight line from heels to head. Then, without rounding your back or bending your knees (i.e., only hinge at the hips), slide your feet toward your elbows. Move slowly and in control—the movement should be generated by your core, not your legs—and only go as far as you can while maintaining good form. Reverse the movement back to the plank position. Repeat continuously for one minute.
Support Outside Online
Our mission to inspire readers to get outside has never been more critical. In recent years, Outside Online has reported on groundbreaking research linking time in nature to improved mental and physical health, and we’ve kept you informed about the unprecedented threats to America’s public lands. Our rigorous coverage helps spark important debates about wellness and travel and adventure, and it provides readers an accessible gateway to new outdoor passions. Time outside is essential—and we can help you make the most of it. Making a financial contribution to Outside Online only takes a few minutes and will ensure we can continue supplying the trailblazing, informative journalism that readers like you depend on. We hope you’ll support us. Thank you.
Lead Photo: Quinn Rooney/Getty