
No products in the cart.
Fitness Tips
Kitesurfing Is the Next High-intensity Adventure Sport You Need to Try

27
Jul
Jul
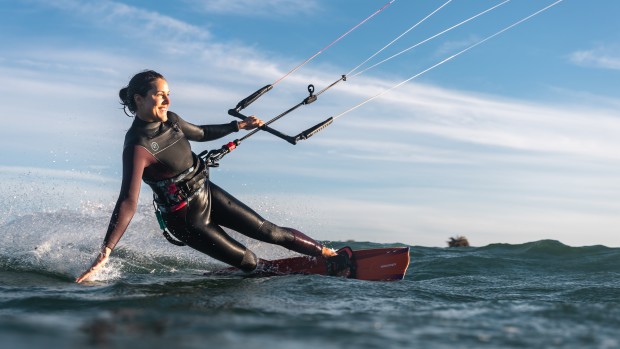
On a windy day in early summer, I stood on a sandbar in the Columbia River Gorge on the Washington-Oregon border and held the handlebar of a kitesurfing kite fluttering in the air above me. Suddenly, a gust of wind caught the kite and I panicked, jerking the handlebar toward my chest. In an instant, I was in the river, cold water shooting up my nose as the kite yanked me forward. This was my first time trying kitesurfing, and I quickly realized the learning curve to this popular sport is steep.
“Let go! Let go!” Sensi Graves, a professional kitesurfer who was coaching me that afternoon, yelled from behind.
The best thing to do when you lose control of your kite is to release the kite bar, though my impulse was to cling tighter. After getting towed through the water for a few seconds, I finally loosened my grip. The lines slackened, and the kite slapped against the river’s surface. I emerged from the water. Time to give it another shot.
The Origins of Kitesurfing
Wherever there’s a windy beach, there’s probably somebody kitesurfing. Also known as kiteboarding, kitesurfing is an action sport that involves harnessing wind power with a large hand-controlled kite to pull a rider across the water. Riders can balance on a variety of different boards, including a surfboard, a kiteboard (which looks like a wakeboard), or a foil board (a board with a specialized fin that lifts the board off the water’s surface as you move).
Kitesurfing’s origins date back to the early 1900s, when aviation trailblazer Samuel Cody invented a “man-lifting kite” that pulled a canvas boat across the English Channel. Kitesurfing’s modern form took shape thanks to two duos. French brothers Bruno and Dominique Legaignoux introduced the first inflatable kite in 1984—their basic design is now standard kitesurfing equipment. In Oregon, Boeing aerodynamicist Bill Roeseler and his son, Cory, combined water skis with a kite controlled by two lines and a handlebar. They patented the KiteSki system, and it became commercially available in 1994. Today’s kitesurfers use a roughly similar handlebar setup.
Graves says she’s attracted to kitesurfing because once you get the hang of it, there’s so much room to experiment with different movements and board/kite combos.
“It’s such a moving meditation,” Graves says. “You’re truly with the elements. It’s not like you have to take a chairlift up. You flow and become one with nature. It’s just a beautiful experience.”
Even after a few hours with Graves, I felt more confident in my kitesurfing abilities—I left the river with a solid foundation to build on (especially knowing when to let go). Drawing on her expertise, I put together a breakdown of essential skills and gear every beginner needs. Here’s how to get started with kitesurfing.
Sensi Graves
Step 1: Learn to Read the Wind
Without wind, you can’t kitesurf.
“Kiteboarders get really familiar with the wind and how the wind works,” says Graves. “It’s our power source.”
Destinations like Oahu and North Carolina’s Outer Banks are known for their ideal kitesurfing conditions, but those aren’t the only places you can kitesurf. All you need is a beach to launch from, a stretch of open water, and a good, steady wind. To determine if conditions are right to head out, Graves evaluates four aspects of the wind: direction, angle, speed, and quality. She recommends using Windy.app, a weather app created specifically for wind sports, to assess what the wind is doing.
Direction
The wind is always named by the direction it’s coming from. This will help you determine the angle of the wind relative to the shore where you’ll launch.
Angle
Kitesurfers ride perpendicular to the wind direction. The best angle for kitesurfing is a sideshore wind, where the wind blows parallel to the shoreline. A side-on wind, where the wind blows toward the shore at around a 45-degree angle, is also acceptable. A rider can easily return to shore and relaunch with the wind at this angle.
Don’t go out if the wind is blowing directly onshore; the breeze will push you right back onto the beach. An offshore breeze presents the opposite problem: It’ll blow you out into open water, making it difficult or impossible to get back to land.
Speed
You can’t kitesurf in a gentle breeze. The sweet spot for wind speed is about 10 mph up to 20 mph. A good rule of thumb: Look for whitecaps on the water, says Graves. If you see them, you can probably kitesurf.
Quality
Whatever is upwind of your kitesurfing location—trees, hills, buildings—will create turbulence in the wind. Turbulent, gusty breezes are difficult to kitesurf in. Ideally, you want a smooth, consistent wind that doesn’t have to pass over many obstacles to get to you.
Other Hazards
The wind can be unpredictable, so riders of all levels should avoid getting too close to obstructions like crowded swimming areas, rocks, reefs, and sandbars. You’ll also need to keep your kite clear of land-based hazards, like trees and power lines. Experts recommend staying a minimum of 100 meters away from all these obstacles.
Finally, never ride in storms. The strong, variable winds can be overpowering, and you could be struck by lightning.
Step 2: Sign Up for a Lesson (or Two or Three)
From getting comfortable with new gear to sensing minute changes in the wind, there are lots of skills to master with kitesurfing, and it can feel overwhelming for beginners. To lower the barrier to entry—and to find out if you like the sport—Graves recommends taking a lesson at a kiting school in your area. That way, you’ll learn your foundational skills from a trained professional. (If you’re in the Pacific Northwest, you can book a lesson with Graves and her brother at Cascade Kiteboarding in Hood River, OR). You don’t have to live near a coast to try it—there are wind sports schools all over the country.
Your first few lessons will likely take place on land. You’ll learn about the wind, water, gear, and other kitesurfing basics. You’ll also start learning to fly the kite on solid ground. Trainer kites measure around two meters in total surface area and usually have two lines leading to the handlebar. Full-sized kites have four (or even five) lines for more control and can measure up to 18 meters in surface area. The bigger the kite, the more wind power it can harness, which also makes it harder to manipulate. Graves recommends starting smaller and practicing key control movements before graduating to a bigger, more powerful kite.
Step 3: Learn How to Control Your Kite and Board
The main kitesurfing movements include steering, balancing the tension in the lines, and relaunching your kite after a fall.
Controlling the Kite
First, hold the handlebar with a relaxed grip and slightly bent elbows. Once the kite is airborne, you should feel a decent amount of tension on the lines—not too slack, but not so much the kite drags you forward. Gently push out the handlebar to ease high tension and pull it in to tighten any slack.
To steer, you gently pull one side of the handlebar in while pushing the other side away from you. If you want to veer left, pull the bar in on your left side. To go right, pull the bar in on your right side. This steady movement travels from the handlebar and through the lines to direct your kite in the direction you want to go.
A hard pull makes the kite move faster, so slow and subtle movevments are best, otherwise you’ll destabilize the kite and crash it. (But plan on crashing anyway—it’s an inevitable part of learning to kitesurf.) Over time, you’ll develop a feel for the kite and build muscle memory for these movements.
Once you get the hang of flying a trainer kite on land, you’ll fly a regular four- or five-line kite in the water. When kitesurfing, you’ll usually ride back and forth parallel to the shoreline, and mastering smooth turns with your kite is essential.
Controlling the Board
Only once you’ve mastered the kite do you add a board. Beginners usually start on a classic kiteboard before experimenting with other types, Graves says. On the water, the main focus is to match your flying with your riding.
As for board skills, work on balancing in dynamic water as you’re being pulled by the wind. You’ll need to learn how to stay upright over waves and in turns by changing your feet position on the board to stay balanced. By combining your board riding skills with your kite steering, you’ll be able to ride up and down your kitesurfing zone.
Relaunching Your Kite
If you fall, getting back up will require a kite relaunch. If you’re close to land, you can ask a fellow kiteboarder on shore to lift your kite into the wind while you float with your board in the water (this is considered good etiquette in the kitesurfing world). Once the kite catches the wind, it’ll pull you upright and you can continue riding.
Relaunching by yourself on the water requires more skill and self-sufficiency, and the exact method will depend on the type of kite you’re using. Generally, you’ll pull the lines on one side of the kite so it catches the wind, and then you’ll steady the kite as it lifts completely out of the water.
All of this is easier said than done. You will make mistakes—and probably get water up your nose like I did. Even though the learning curve is steep, the kiting community is accepting and welcoming of newbies, Graves says.
“It’s an independent sport, but also a social sport because it’s hard to learn, so everyone who has learned has been through it,” she says. “Everyone’s got each other’s backs.”
Step 4: Stay Safe in the Water
Strong swimming skills are critical for kitesurfing, especially as you’re learning and taking falls. In addition, Graves suggests wearing a flotation or impact vest and a helmet (see below for recs) every time you go out. Even professionals wear these devices for safety.
On the water, make sure to keep your distance from other kitesurfers. You don’t want to land your kite on or crash into someone else. Some beaches have an area designated for lessons and learners, so you won’t be in the way of more skilled riders, Graves says. If you’re not taking a lesson, ask a lifeguard or fellow kitesurfer to point you in the right direction.
When the wind is ideal, the water can get crowded. Avoid running into other kitesurfers by continually scanning your surroundings and measuring your distance from others. Give them as wide of a berth as you can. As other kitesurfers come into view, adapt and redirect your course.
In addition, familiarize yourself with the kitesurfing rules of the road. This guide from The Kitesurf Centre and this one from the International Kiteboarding Organization are good places to start. A few key takeaways:
- Yield to riders entering the water, as they have less room to maneuver.
- If you’re passing another rider, keep your kite high if you’re upwind of the other rider’s position. If you’re passing on their downwind side, keep your kite low.
- Yield to other watercraft, like Jet Skis and boats.
Step 5: Keep Practicing
Like any sport, mastering kitesurfing takes lots of practice. If you have experience with other board sports, you’ll have an easier time synchronizing the board with the kite’s pull because your muscles are already familiar with riding.
A common kitesurfing misconception is that you need lots of upper body strength in order to ride. But according to Graves, core strength is most critical. The kite’s lines attach to a harness that wraps around your torso, so a strong midsection helps you control the kite. Any exercises to strengthen your core will pay dividends on the water.
Ready to give it a shot? Here’s the essential gear you need to get started with kitesurfing.
Essential Kitesurfing Gear for Beginners
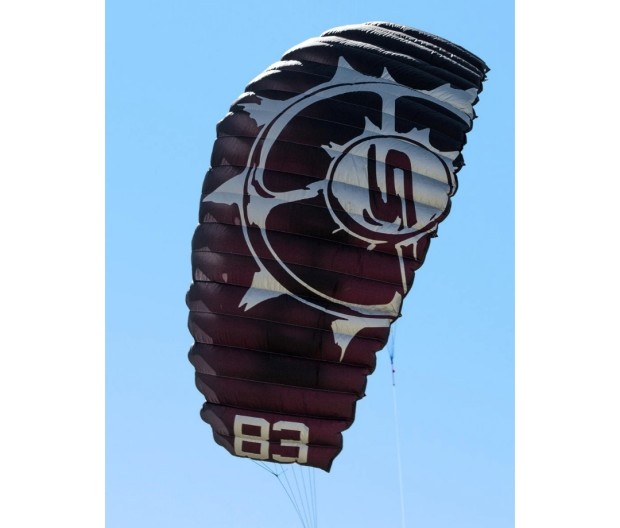
1. Trainer Kite: Slingshot Sports B3 Light Traction Trainer Kite
Courtesy Image
Get comfortable handling a smaller kite before you level up to a full-sized kite. This trainer kite has just enough power to give new kiters the feel of the wind without overwhelming them. It comes with guide lines and a handlebar—everything you need to learn how to fly.
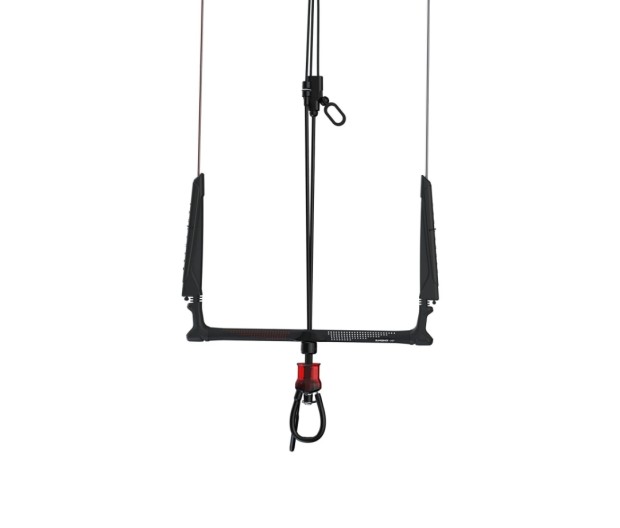
[$235; amazon.com]2. Kite Bar: Slingshot Sports Sentry V1
Courtesy Image
Your kite bar is the critical link between you and the kite. A click-in rubberized loop connects to your harness, and an auto swivel keeps the polyurethane-coated lines from getting twisted. The grip is soft but not slippery, so you can maintain a secure hold even when it’s wet. It comes in three sizes.
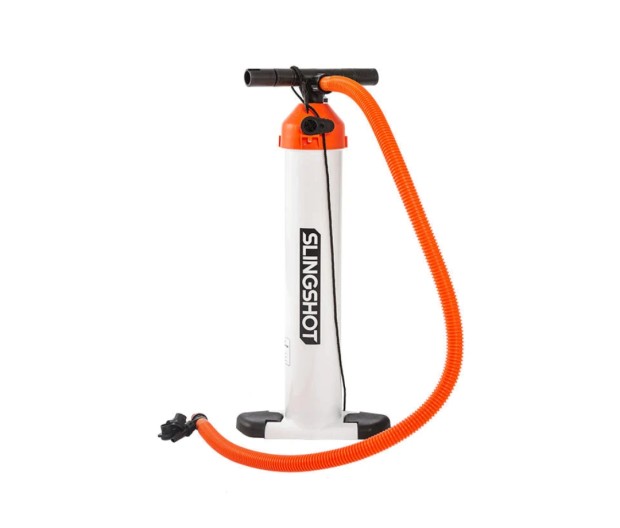
[$652; amazon.com]3. Pump: Slingshot Sports Blow Hard Kite/Wing Pump
Courtesy Image
Pumping up your kite is a breeze with this swift device. With its 3.2-liter capacity, it moves air quickly—Graves used it to fill her kite in just a few strokes. The built-in air pressure gauge ensures you never underfill or overfill, and the adaptable nozzle allows you to switch out tips for kites, wings, and even inflatable SUPs.
[$80; amazon.com]4. Harness: Ride Engine Saber V3 Harness
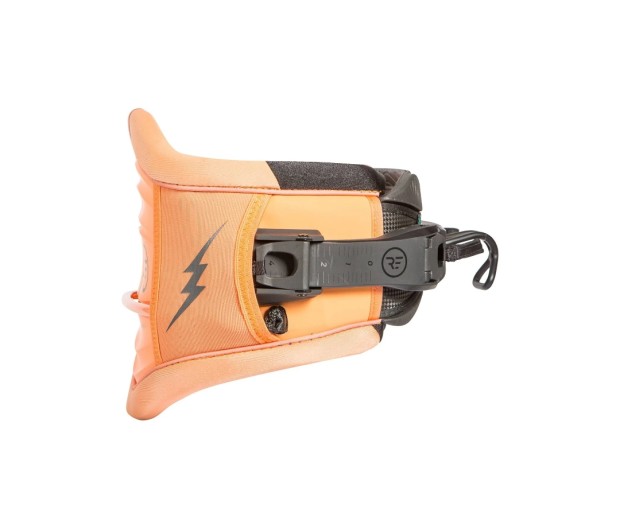
Courtesy Image
Your kite attaches to your harness, so you want one that fits well and stays put. The Saber V3 has a hard injection-molded shell that provides a stable feel with some flexibility, and the soft memory foam padding conforms to your torso for a snug but comfy fit. The various mounts and attachment points allow you to use it for other kiting sports, too.
[$350; amazon.com]5. Board: Slingshot Sports Glide V13 161 Kite Twin Tip
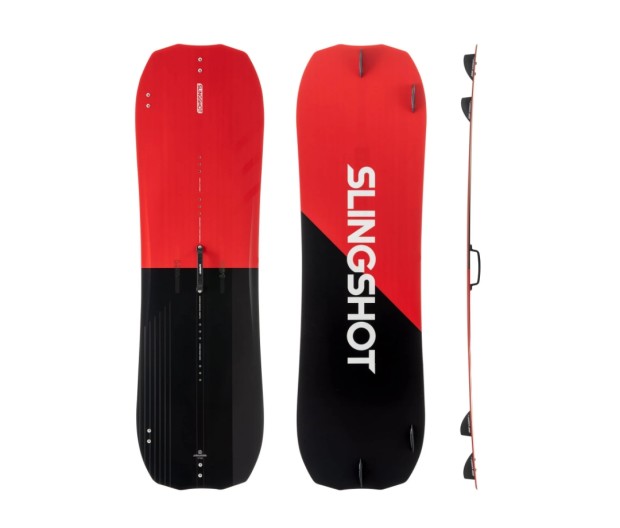
Courtesy Image
Designed specifically for early-stage kiters, the Glide V13 performs best in light wind. A wood core with carbon inserts gives the board some spring and flex underfoot while still generating a steady ride. Graves recommends a twin tip for beginners because it can be ridden in both directions without changing your stance. That way, you can focus on controlling your kite.
[$778; amazon.com]6. Wetsuit: Ride Engine Onsen Front Zip Full Wetsuit
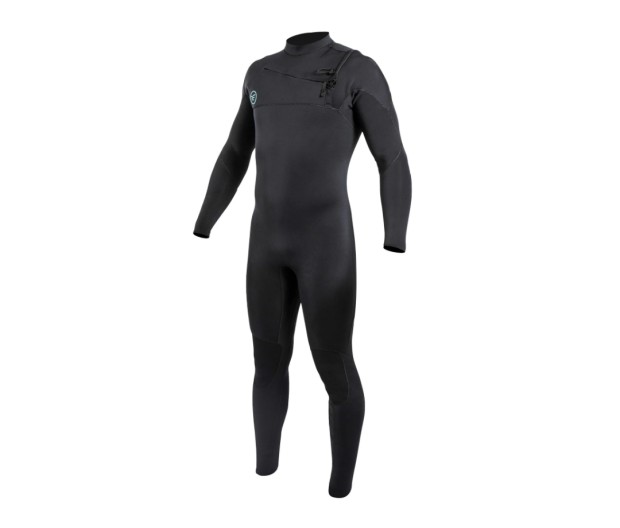
Courtesy Image
Unless you’re kitesurfing in the Caribbean, a wetsuit is probably necessary. Ride Engine’s collection of neoprene wetsuits range from 3/2 for mid-season conditions to 5/4/3 for winter conditions. Choose one with a hood for even more warmth.
[$470 for 3/2 wetsuit; amazon.com]7. Impact Vest: Dakine Surface Kiteboarding Impact Vest
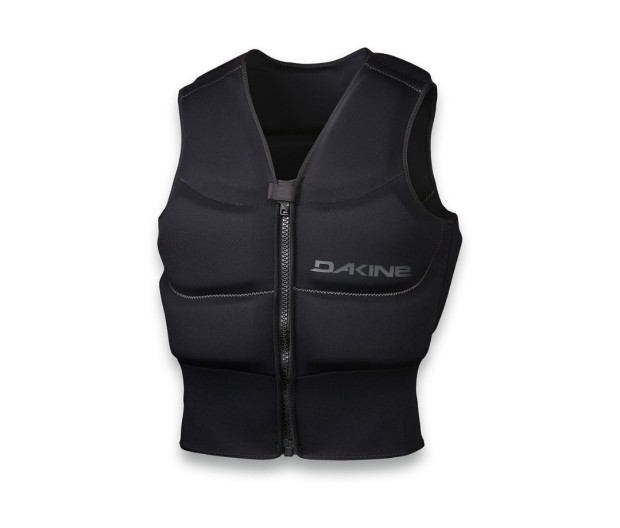
Courtesy Image
An impact vest provides some buoyancy, but it’s mainly designed to keep you protected in a crash. This one is compatible with waist and seat harnesses (these fit around the hips and legs instead of around your midsection), and the super stretchy neoprene doesn’t feel constricting. The zippered front makes it easy to slip on and off.
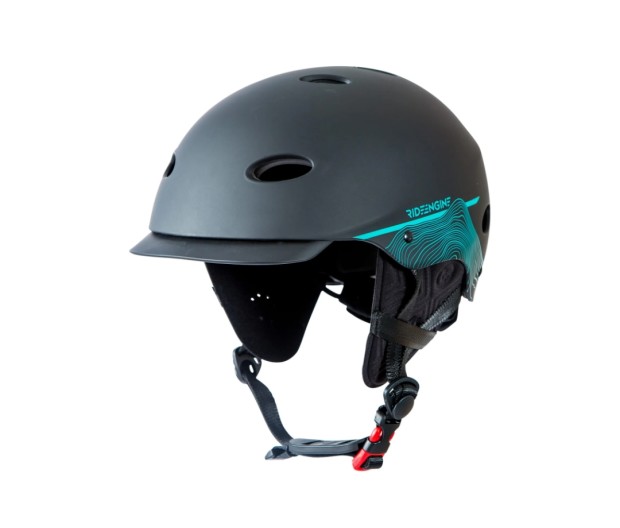
[$159; amazon.com]8. Helmet: Ride Engine Universe Helmet V2
Courtesy Image
Protecting your dome is always cool. This low-profile and lightweight helmet has a thermoformed EVA liner that won’t absorb water, and the ratcheting adjuster dials in the fit to prevent any rattling. The brim and ear pads are removable if you prefer a more minimalist look.
[$89; amazon.com]