
No products in the cart.
Outdoor Adventure
You Should Be Molding Your Ski-Boot Liners
02
Mar
Mar
Skiing in a pair of well-fitting boots in bottomless pow is snow-sports nirvana. And ill-fitting boots? Well, that’s undisputedly the opposite—painful and unresponsive—regardless of conditions. Making sure your feet have the room they need to flex, swell, and stay warm, all without sacrificing the stiffness your boots need to effectively drive your skis is critical to enjoying your time on the slopes. And because no factory fit is perfect for everyone, you’ll probably need some way of molding them to your feet. Here’s how to do it yourself—with a few variables to consider before you start.
Should You DIY?
Undoubtedly the most reliable way to go is to put your trust in boot-fitting experts to precisely tune your new kicks to your feet. Many manufacturers recommend going this route. If you have unusual feet (abnormally wide or narrow), old foot injuries (especially screws or plates), bunions, or other special concerns, you’ll probably save yourself a lot of time and discomfort by going to a professional who can analyze your feet, build you custom footbeds, or do more extensive work to your boots.
Wrap liners (liners with uppers that fold around the leg and overlap on the side, rather than using a traditional tongue) are tricky enough to make them worth a professional’s touch as well. And according to Jonathan Lantz, president of La Sportiva, first-timers would benefit from getting the perfect fit from a boot fitter so they can get a sense of how the ideal feels on their feet.
But once you know what you need and like in boots, an expert’s attention might not be necessary. “We know a lot of outdoor people are do-it-yourself people,” says Lantz. “It’s possible to mold your liners at home.”
“Our home-fitting method is basically foolproof,” says Crystal Maguire, president of Intuition, the industry’s top brand of replacement liners. “The only way you can really mess up the liners is by heating them too long, or at too high of a temperature.” While it’s difficult to irreversibly destroy your liners, if you do, say, leave them in the oven until they’re a pool of melted foam, you’ve definitely voided your warranty. Otherwise, you can just heat them up and try again.
One caveat: molding your liners isn’t going to magically make them fit. Always try them on first with any orthotics or footbeds you plan to use to make sure they’re not too small (molding won’t make them bigger) or too large.
Heat Them Up
Heating may be the trickiest part of the process, only because the critical temperature varies among brands or even liners, which often have different thicknesses and materials. Intuition provides detailed instructions for home molding. (Lantz says La Sportiva uses the same foam as Intuition, though his brand also provides its own directions.) It recommends filling a thin stocking (which comes as part of the Home Fitting Kit, $16) with three to four pounds of short grain-rice (because it holds heat better than other types) and tying it off, then microwaving it. Intuition recommends heating the rice for four to seven minutes, depending on the wattage of your microwave—the rice should be too hot to touch (pick it up by the knot), but be careful not to singe or burn any part of the sock.
While the rice is heating, remove any footbeds from your liners. Once your rice is hot, drop the sock into one boot liner, tapping the exterior to work the rice all the way down into the toe box and filling as much of the liner as possible. Depending on your shoe size, you might need two rice-filled socks to do this. Let the sock rest in the liner for four to 12 minutes (for Intuition liners, use the chart in these directions). “The liners will go from feeling stiff to soft to the touch—malleable, but not squishy or mushy,” says Maguire.
It’s also possible to heat liners up in the oven directly, rather than dealing with rice, but this is where you risk melting issues, which is why Intuition doesn’t recommend it. First check that your liners don’t have any plastic pieces that could be damaged. La Sportiva recommends heating its liners to 266 degrees—and this is a good target for liners made of similar foam. Preheat your oven to slightly beyond that temperature—in this case, about 300 degrees—then turn the oven off. You want to use the residual heat, and some of it will be lost by opening the oven door.
Lay one liner (footbed removed) on its side on a wooden cutting board and slip it into the oven. Turn the light on and watch it. After just a couple of minutes, you’ll start to see it sag a little bit under its own weight. That’s when you want to pull it. As with the rice method, you’ll want it to feel spongy and soft but not mushy or floppy.
Mold Them to Your Feet
Whichever heating method you use, once your liners are hot, you’ll need to move quickly. Don’t panic: just have everything ready to go ahead of time. Remember, if you mess up, you can always try again.
Insert your footbed into the liner and slip the liner into the boot shell. Put on either an Intuition toe cap (also included in the kit) or a piece of an old extra-thick sock (think mountaineering weight, cut off to just cover your toes) and then a thin ski sock (Intuition recommends using one of the stockings in its kit). Pro tip: it’s a good idea to get this sock and toe cap on while you’re waiting for the liner to warm. Smooth out the sock before you put on your boot, making sure there are no creases or wrinkles.
When the boot is on, pull up gently on the tongue and back of the liner, and then give your heel a couple of sharp taps on the ground, pushing it into the back of the boot. Buckle your boots one to two notches tighter than you would usually, so there’s a little extra pressure. “In situations where the liner was extremely snug before molding, you want to buckle as tight as you can without deforming the shell for maximum results,” says Maguire. It seems counterintuitive, but buckling tighter creates more space in your liner (if you need it), while keeping it looser compresses the liner less (if it already fits well).
Once you’re buckled in, stand up and place your toes on a two-by-four or thick phone book and lean into the tongue of the boot with your knees bent as if you were skiing. (Even though you’re only molding one boot at a time, it helps to do this with both feet.) Sit tight until the liner cools down to near room temperature—this could take anywhere from five to 15 minutes depending on the thickness of your liner. While you’re hanging out, wiggle your toes as much as possible. It will feel difficult, but once you’re skiing, you’ll be grateful for the extra bit of space.
Inspect Your Work
Take your boot off and give your handiwork a look, checking for creases or folds on the inside of your now cool liner. If everything looks smooth, repeat with your second liner, then try them on with your regular ski socks—or better yet, take them out to the hill for a couple of test runs. Hot spots? The foam will mold to some degree from the heat and pressure of your foot, so you might be able to push through mild, general pressures until they work themselves out. But for more precise fixes or intense pressures, use a smaller rice-filled stocking to heat up just the problem area and, Maguire recommends, push it out with the rounded back end of a screwdriver until you have the shape dialed (or just slip your foot in if it’s hard to reach).
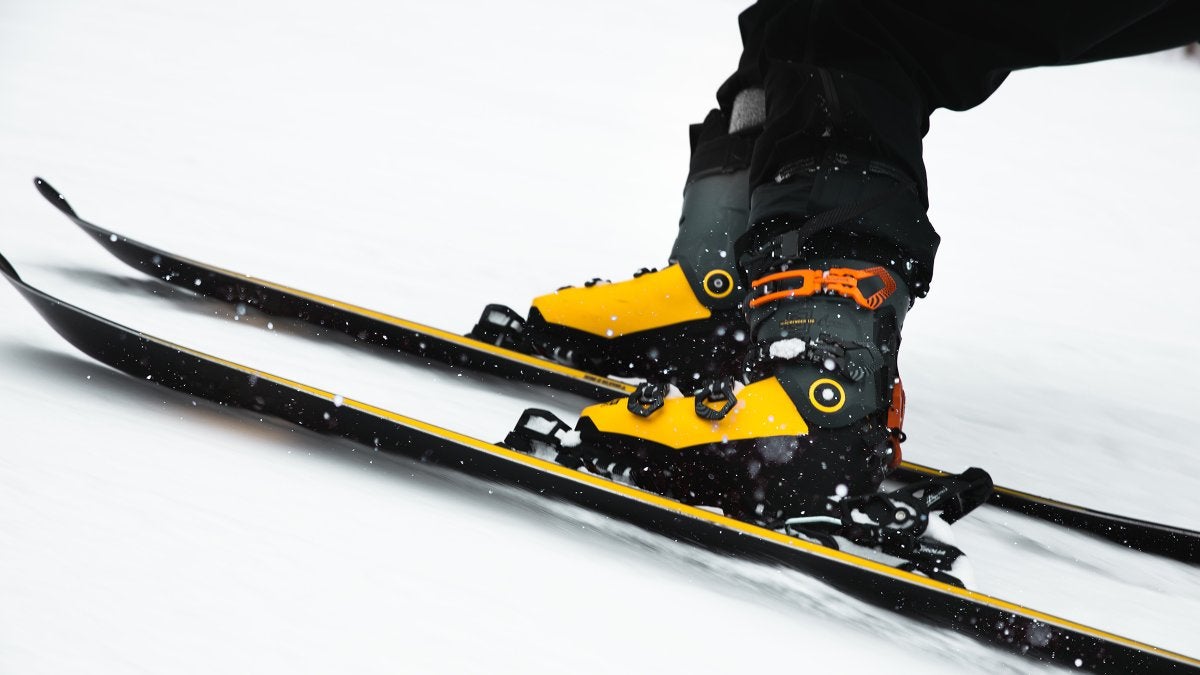
Lead Photo: Ethan Walsweer/Unsplash
Source link